Most homes include skirting boards, which are a crucial component. They protect walls from potential damage caused by furniture, foot activity, and other factors in addition to adding decoration to a space.
For homeowners who wish to improve the appearance of their current skirting boards without the effort of removing them, over skirting boards, also known as clip-on or cover skirting boards, are a popular option. The method for installing skirting over skirting boards is described here, along with some helpful advice for producing a polished appearance.
Installation Procedures Order and Measure
Start by determining the length of the skirting boards you currently have. Note down the dimensions and order the corresponding length of over skirting boards. Make sure to choose a design and colour that complements your existing interior.
Preparation
Before you begin, ensure that the walls and existing skirting boards are free from dirt, dust, and any loose paint or wallpaper. Clean the surface thoroughly, as this will help the adhesive stick better and create a seamless finish.
Cutting the boards
Using a miter saw, cut the over skirting boards at a 45-degree angle to create neat corners. Measure each section accurately to ensure a perfect fit. It’s better to cut a little longer at first and then trim down gradually, as you can easily adjust the length, but it’s difficult to add more once it’s cut too short.
Adhesive application
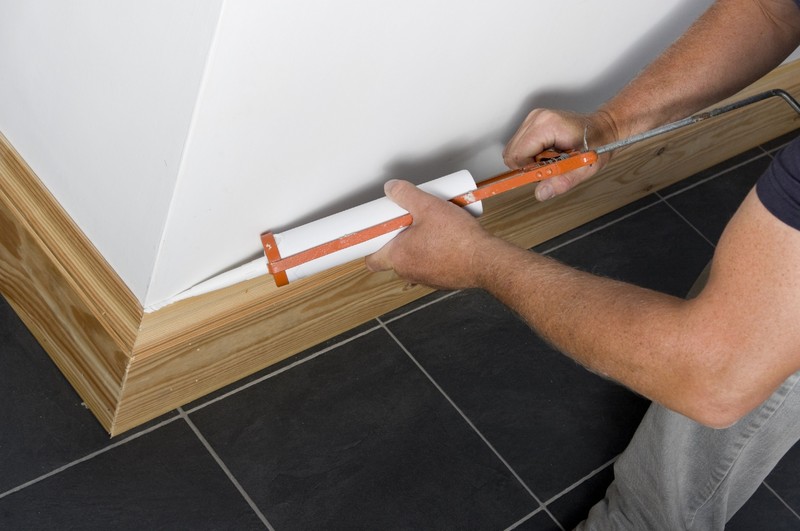
- Apply a suitable construction adhesive to the back of the over skirting board, ensuring proper coverage.
- Start by applying the adhesive to the four corners and then add a few lines along the length of the board.
- This will ensure a secure bond.
Attaching the boards
Carefully position the over skirting board over the existing skirting board, pressing firmly to ensure good contact with the wall. You can use temporary support such as tape or clamps to hold the board in place while the adhesive sets. Repeat this process for each section until the entire room is covered.
Filling gaps
Once the adhesive has fully dried and the boards are firmly attached, inspect the room for any gaps between the over skirting boards and the wall. Use an appropriate filler, such as caulk or decorator’s filler, to fill in any imperfections or small gaps. Smooth out the filler with a putty knife or sponge and allow it to dry.
Finishing touches
Sand down any excess filler or rough edges for a smooth and seamless finish. Once done, you can paint or stain the over skirting boards to match your desired colour scheme. Apply a few coats of paint or stain, allowing each coat to dry completely before applying the next. This will enhance the overall appearance of the room.
FAQs
What tools are required for installing over skirting boards?
The tools required for installing over skirting boards typically include a measuring tape, a miter saw, a coping saw, a level, a hammer or a nail gun, a caulking gun, and a tube of adhesive.
How do I measure and cut over skirting boards accurately?
To measure and cut over skirting boards accurately, start by measuring the length of the wall where the skirting board will be installed. Use a miter saw to make precise 45-degree cuts for the corners, ensuring the two boards meet seamlessly.


